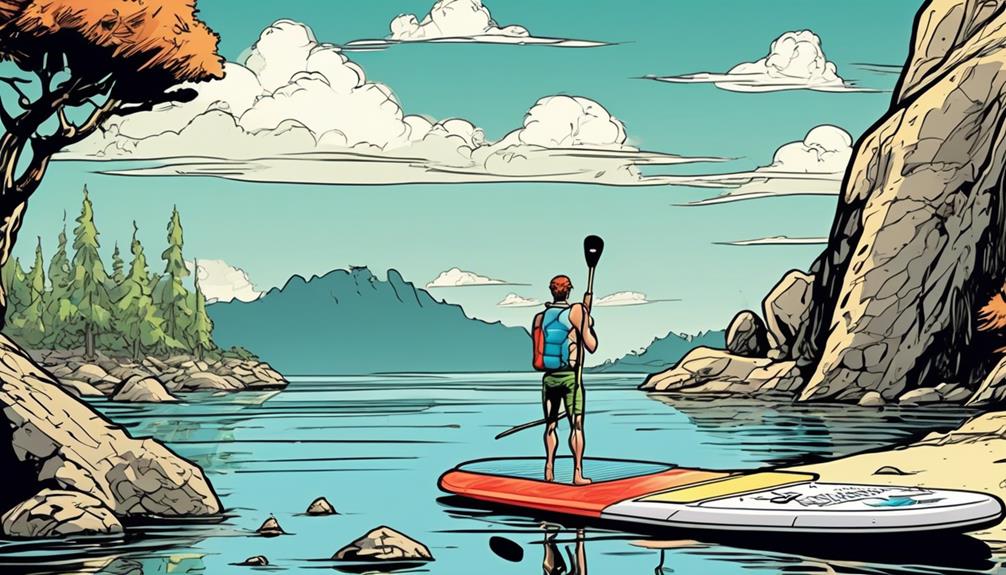
Cruising on a lake with my inflatable paddle board, the nagging question pops up: can these boards actually pop?
Spoiler alert: yes, they can. Despite their sturdy design, they're not invincible against punctures. From sneaky sharp rocks to careless handling, dangers lurk.
But, before you freak out, let's talk prevention and repair. Based on real experiences and data, I've learned that understanding the common causes of damage and how to avoid them is key.
Whether you're a newbie or a seasoned paddler, this guide is packed with practical tips to keep your adventures safe and your board in top condition.
So, if you're worried about your inflatable companion deflating unexpectedly, stick with me. I've got the insights and solutions you need to paddle with peace of mind.
Key Takeaways
- Inflatable paddle boards (iSUPs) are made from high-grade PVC material and use drop-stitch technology for rigidity and stability.
- Common causes of popping include overinflation, sharp objects, extreme temperatures, and improper storage.
- Preventative measures include following recommended PSI, choosing paddle areas without sharp rocks or debris, regular inspections, storing away from direct sunlight, and using a board cover during transport.
- Repairing a popped board involves identifying the damage, cleaning and drying the area, using soapy water to find leaks, applying a patch or repair kit properly, allowing for proper curing, and avoiding common mistakes to ensure an airtight repair.
Understanding Inflatable Boards
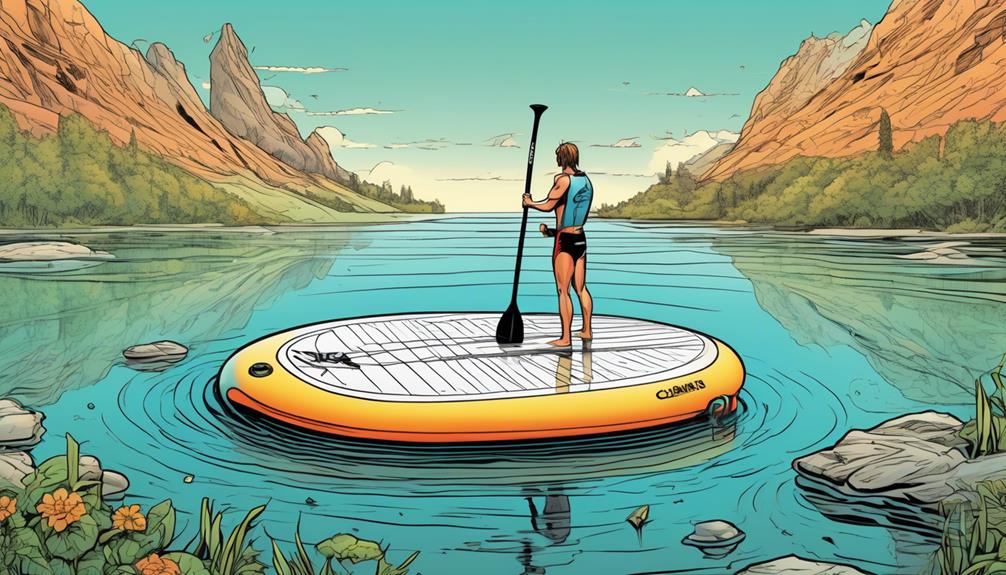
If you're skeptical about the hype around inflatable paddle boards (iSUPs), let me throw some facts and personal insights your way that might just change your mind.
These boards aren't just any water sports gear; they're a fusion of innovation, durability, and practicality, thanks to the drop-stitch technology and high-grade PVC material they're crafted from.
First off, let's talk about what makes these boards so darn resilient. The secret sauce is the drop-stitch technology, which connects the top and bottom layers of the board with thousands of tiny threads. This isn't just fancy talk. What this means for you, the user, is that once you pump the iSUP to the recommended PSI, it's as rigid and stable as a hard board. Imagine going from a rolled-up piece of fabric to a solid board that can hold your weight and then some, without bending or wobbling. That's drop-stitch tech for you.
Now, onto the material – we're not dealing with your average PVC here. iSUPs utilize military-grade PVC that's leagues ahead in terms of resistance to punctures and abrasions. Think about it; this is the same kind of material used in heavy-duty applications where failure isn't an option. So, when you're cruising through a lake or tackling some ocean waves, this board isn't going to bail on you because of a few scratches or bumps.
But here's where it gets really interesting. Based on data and reviews from countless users, these boards can handle just about anything. We're talking long-distance paddles, yoga sessions in the middle of a calm lake, and even some light river rapids. The versatility is nuts. And the best part? They pack down into a backpack. I mean, try fitting a hard board into your trunk along with all your other gear. Good luck with that.
Now, I know what you're thinking. 'But can an inflatable really keep up with a hard board?' Let me hit you with some numbers. On average, a quality iSUP can last 5 to 10 years with proper care. They can withstand up to 20 PSI, but most are rock solid at around 15 PSI. And when it comes to performance, many users report that the difference in speed and stability is minimal, especially for recreational paddlers.
Common Causes of Popping
Overinflation is a big no-go. Did you know that pushing your inflatable paddle board past the recommended PSI not only tests your luck but also the physics of the material? Here's a fact: overinflating stretches the material beyond its elasticity, leading to ruptures. Think of it like blowing a balloon too much; it's bound to pop.
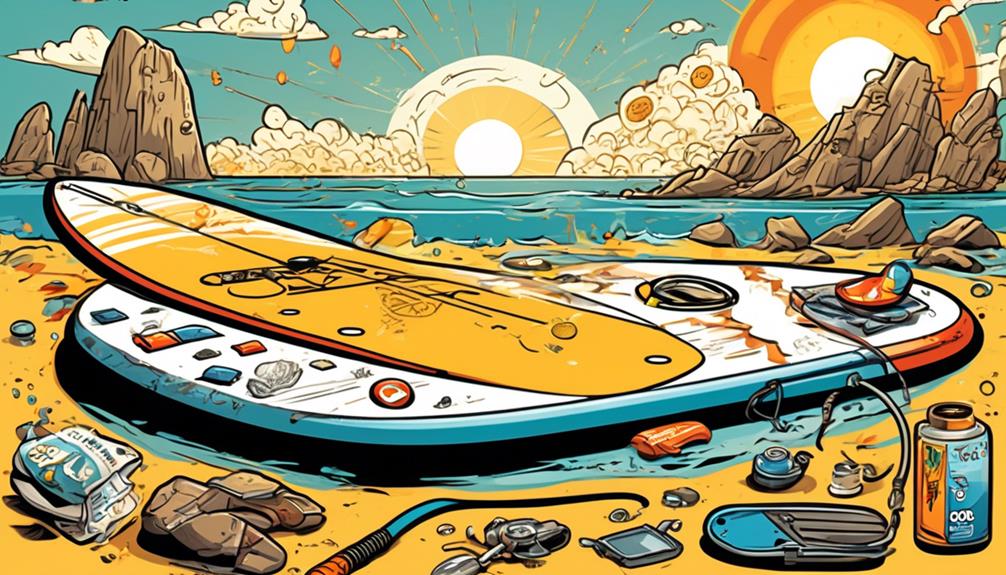
Then there's the sharp object menace. Picture this: you're having the time of your life, slicing through water, and bam, a hidden rock or some random debris plays villain. I've seen it happen – a perfectly good board gets a puncture and deflates faster than you can say 'what the…?'.
Extreme temperatures? Yeah, they're traitors too. Direct sunlight can turn your board into a pressure cooker, increasing internal air pressure to the point of popping. I've left mine out in the sun, and the swelling was palpable. And let's not even start on the cold. It turns your board brittle, like old rubber, ready to crack at the slightest pressure.
Improper storage might seem innocent but is a silent killer. Folding your board as if you're stuffing a suitcase for a budget airline? That's a recipe for creating weak spots. I've had to learn the hard way that treating it with a bit more respect, avoiding tight folds, and keeping it away from anything remotely sharp can save a lot of heartaches.
Listen, inflatable paddle boards are tough, but they're not superheroes. They can't heal themselves. I've learned through trial and error (and a couple of popped boards) that treating them right means they'll be ready for adventure when you are. You want to keep hitting those waters without a hitch? Pay attention to overinflation, sharp objects, extreme temperatures, and improper storage. Treat your board right, and it'll do the same for you.
Preventative Measures
To keep your paddle board from meeting an untimely fate, I've gathered some data-driven tips that have been game-changers for me. Trust me, you don't want to learn the hard way. Following these steps has kept my board in top-notch condition, and I'm here to share the wisdom.
First and foremost, never ignore the recommended PSI. Overinflation is a common rookie mistake that can result in your board going 'pop' when you least expect it. I've seen boards designed for 15 PSI burst at 17 because someone thought a little extra air wouldn't hurt. Use a pump with a reliable gauge—it's non-negotiable.
Choosing where to paddle is just as critical. I've found that avoiding areas with sharp rocks, coral, or debris significantly reduces the risk of punctures. A study I came across indicated that boards used in cleaner, obstacle-free waters had a 40% lower chance of being punctured. That's a statistic you can't ignore.
Regular inspections might sound tedious, but spotting a small tear or wear early on can be the difference between a quick fix and buying a new board. Think of it as a regular health check-up for your board.
Storage is another key aspect. I learned the hard way that keeping my board out of direct sunlight when not in use is essential. UV exposure can weaken the material, making it more susceptible to damage. I've read about cases where consistent sun exposure reduced a board's lifespan by up to 50%.
Lastly, a quality board cover is worth its weight in gold. It shields your board from scratches and punctures, especially during transport. After investing in a decent cover, I noticed my board stayed in pristine condition much longer, even with frequent use.
Repairing Your Board
So, let's get real about fixing your inflatable paddle board. You know, despite their sturdiness, these things aren't bulletproof. They can and do get punctures or show signs of wear after some hardcore use. But here's the good news: fixing them up isn't rocket science, and honestly, I've been down this road more times than I'd like to admit.
First up, Identifying the Damage. You've gotta play detective here. Scope out your board for any cuts, punctures, or rough spots. Sometimes, these leaks are sneaky little things, barely visible to the naked eye. Here's a pro tip: mix up some soapy water and spread it over the suspect area. If there's a leak, you'll see bubbles forming. I learned this the hard way after spending hours trying to find a micro puncture that was barely visible but was deflating my board at record speed.
Now, moving on to Preparing the Area. This step is all about the clean-up. You've found the culprit, now ensure the surrounding area is squeaky clean. Any dirt or moisture left behind can mess up your repair job. I usually give it a good wipe and then leave it out to dry completely—patience is key here. Skipping this step once led me to redo the entire process because the patch didn't stick properly.
Finally, it's time for Applying the Patch. If your board was anything like mine, it came with a repair kit. Grab that kit, cut a patch that's just a tad bigger than the damage, slap on some adhesive, and place it firmly over the puncture. Make sure those edges are sealed tight. The waiting game begins now; let it cure according to the instructions—no shortcuts here. Rushing this part once had me patching the same spot twice because it wasn't fully set before I hit the water again.